
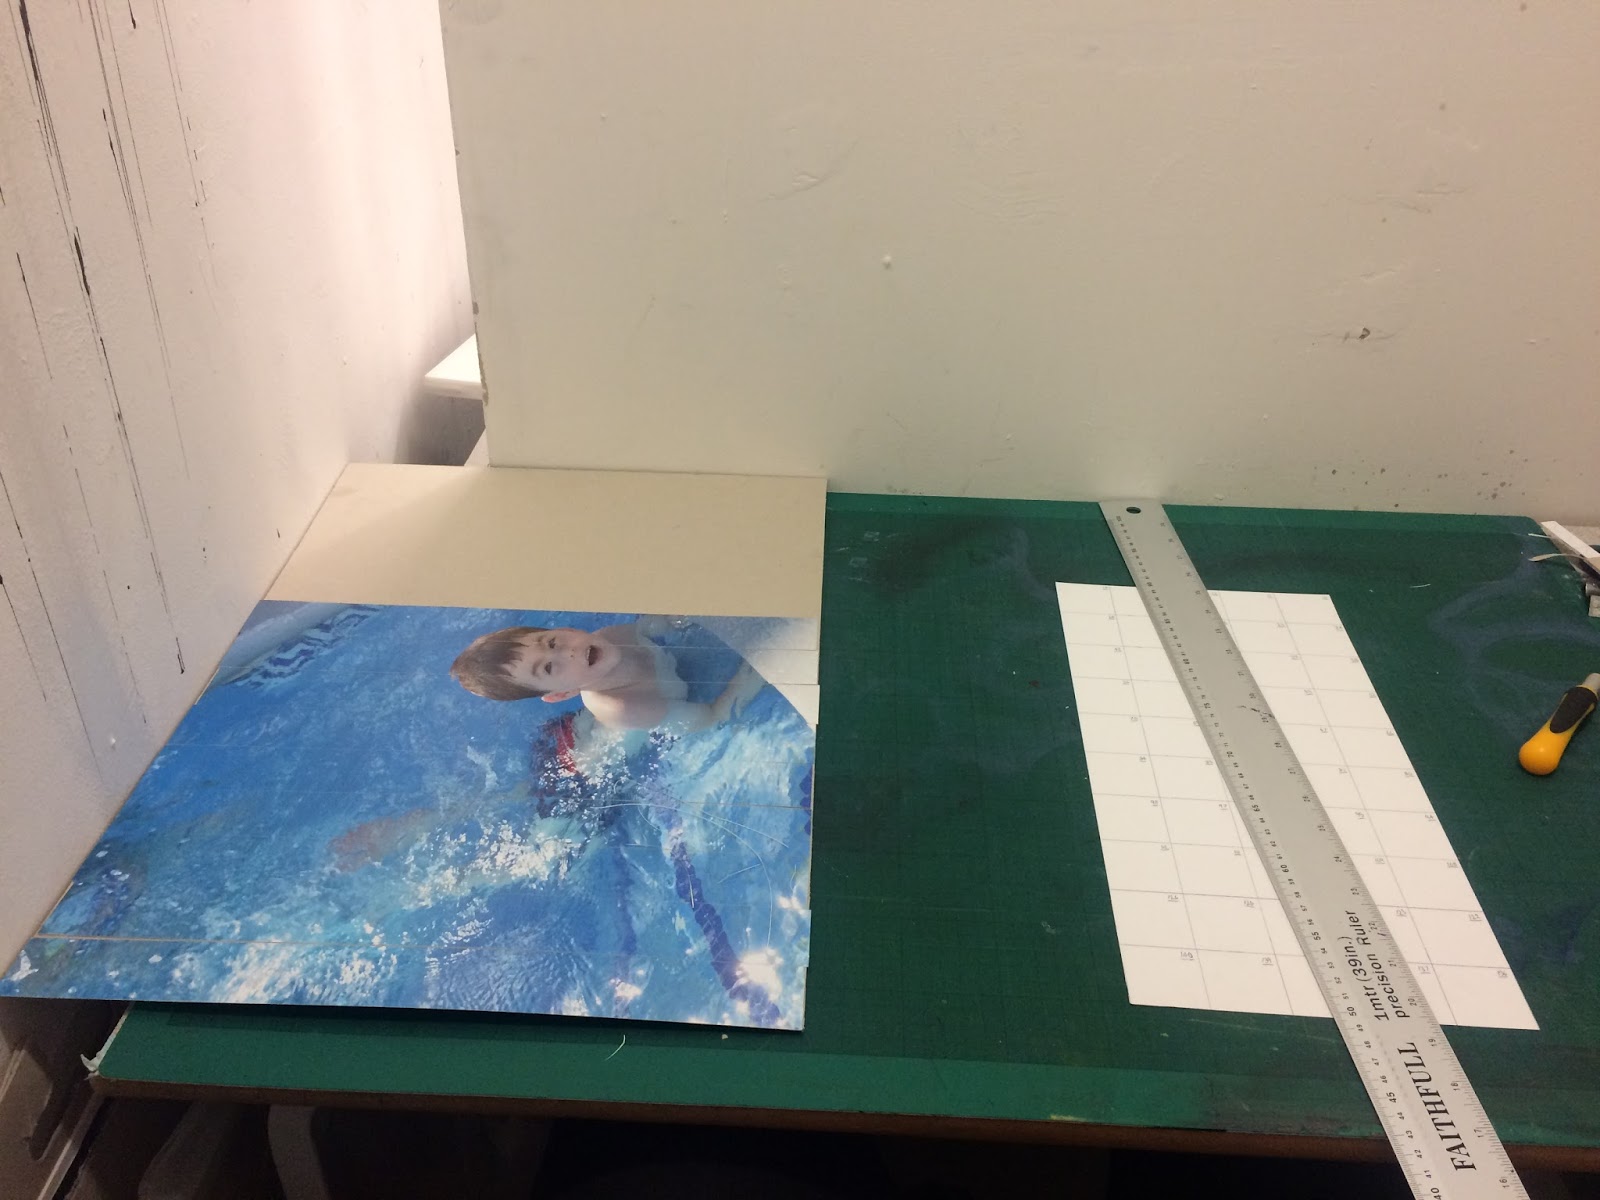
I had an A2 sized photograph printed onto photo paper. This was the image when I first started my final personal investigation piece.

I measured the amount I would need to take off of the top and right edges and then I measured and drew on all of the squares. I numbered the squares to try and make the process easier and in case I lost a square. I then measure up the smaller squares and numbered them one to four on each square as well. Once I cut off the excess that I didn’t need I carefully measured the size of the photograph onto the cardboard and then cut it out to the right size.
To start I cut out each column of squares. I did find this difficult, the ruler kept on moving which meant that even though I was trying to be very careful it was not perfectly straight leaving me with not so even columns. I also found that the paper was thicker so I had to cut it a few times which led to some stringy bits of photo paper which peeled off some of the edges of the photograph in the columns. I was started to feel very frustrated because it didn’t seem to be going how I wanted it to even though I was trying to be calm and extremely careful with my cutting.

Column by column I cut out each individual square and placed them gently on the cardboard to make sure that it was definitely cut to the right size. As the ruler kept moving it meant that the squares were not perfectly even so I knew when I started to re-arrange them there would be some white gaps which was really frustrating.


Here is a photograph of all of the cut out squares resting on the cardboard.

Once I had cut out all the squares to their biggest size I then rearranged them to where they were supposed to be and started to cut out the smaller squares. I found it easier to cut out the smaller squares as I was able to use a smaller ruler which gave me more control.

Here is a photograph of all of the squares cut to their correct size and re-arranged to where they were supposed to be.


I had decided to use spray mount to prevent the cardboard and the photo paper from wrinkling and curving. As I had never used it before I decide to stick the squares onto cartridge paper first and then if it went wrong I could easily cut the squares out again as the cartridge paper is thin.
I got a scrap piece of cardboard
to place the individual squares on whilst spraying.

The piece seemed to be going quite well at this point as I was sticking down, the white gaps as it turned out were not that obvious or big in the first few columns so I started to feel hopeful.

Whilst sticking the smaller
squares I had what I felt to be a disaster. As I was lifting a small square to
place on the card to spray it fell out of my hand and landed face down on the
sticky area of the cardboard. Spray mount is very sticky and when I tried to
get it off I couldn’t and eventually it ripped. Feeling downhearted I carries
on sticking, leaving the gap and not feeling very enthusiastic about my final
piece anymore.
Here are some close up images of the areas that I decided to refine as I wasn’t happy with the white space.


Once it was all stuck down I
decided to print of an enlarged cropped section of the photograph and to cut it
out to the right size and stick it in the gap where the square was originally
supposed to go. I also then used some alcohol ink pens to fill in the white
gaps between the squares where I really wasn’t happy with it as the alcohol ink
pens had a huge variety of colours and tones so I could pretty much match them
to the colours in the photograph.
This is the photo of my final personal investigation piece whilst mounted up for exhibition. Despite some of the issues I had during the process of creating it I was really pleased with the outcome and it turned out just how I imagined it.

No comments:
Post a Comment